
We all love new and hip things. It is what drives us, it is what consumerism is all about. You see something you can afford and like, you got to have it, period. Thanks to the constant flow of new designs, new things and new tech we can now make our home fit for our every need.
Redoing or simply upgrading your home or at least a part of it is not that simple. Yes, it is easier when you have a lot of money and you don’t have to concern yourself with a million tiny things, but upgrades can be done when you are on the budget as well. There are a few things you have to draw down and follow if you want everything to go without major issues.
When you know what you want to upgrade, look for contractors that will do it in your price range. Try to search for potential problems in the area you are upgrading to avoid any sort of unwanted issues. These are just some of the tips on how to make in-home changes without breaking the bank.
Today’s article is a bit kitchen side oriented and we will walk you through a kitchen island upgrade that you can do even if you are on a tight budget, or do it without going all out and break whatever sum you drew down. So, with the help of foyr.com here are the ways to do just that.
1. Budget
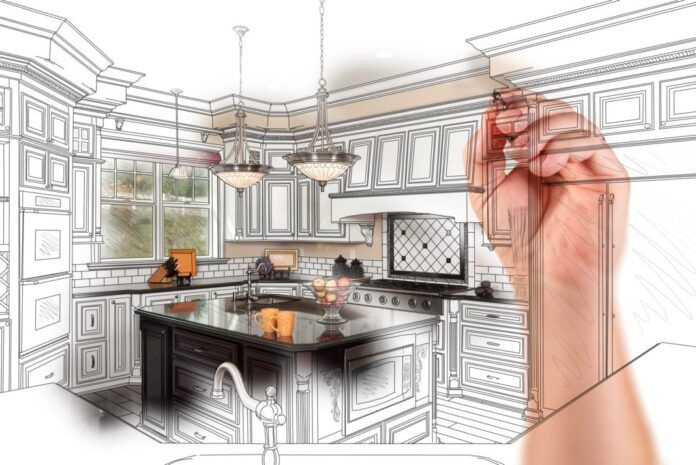
Now depending on the budget, you have set aside for this you have two options – hire someone to upgrade your kitchen island or a DIY job. Now depending on your DIY skills and your equipment, this may not be an all too difficult task to take on. Kitchen islands are not that difficult to make, again depending on your wishes and preferences. When we are talking about going with hire for the job you will have to consider few things. The company that will do your kitchen island has to be well established and has to have a history of good jobs. For this, we recommend that you ask around or search online for the ones you believe are the ones for you. Get them to come to you and make an estimate. After you chose the design and the features see if it fits within your budget and the last thing is to start the job. If you opt for the DIY side of this then you will have to get acquainted with the materials, layouts and tools necessary. If you don’t have all the tools you should factor purchase or rent of those into the price of the job so you don’t break the sum you have.
2. DIY
Since most of us operate on a tight budget, we will scoop a bit more to the DIY side of the job. This way you have a lot more freedom, at least design guise, and you will save some on the labour side of things. The first steps are to take measurements if you are doing it from scratch, if you are upgrading an existing island try to utilize its position best, or if you have had problems with it so far, try and position it better this time. When placing the island, you have to mind the dimensions and you have to leave yourself enough room around it which is why measurements are the thing, to begin with. Measure everything, slide in the cabinets and when you have everything set where you want it, cut down all the plywood to bind everything into one piece.
3. Possibilities
Now depending on what type of kitchen island you want and prefer few designs are not that expensive and that are DIY friendly. You probably saw a lot of those movable kitchen islands. Yes, they are set on tiny wheels and you can move them wherever you need them. They are the best for smaller kitchens because they can be used when needed and moved aside for more room, or you can utilize them with your dining table for when you need more space for more guests. These are awesome and these come in all shapes and sizes. They can be bought pre-made and you can always make ones yourself. The third option is to buy whatever else there is in between and slap some wheels on the bottom to make it movable if it pleases your desires.
4. The electrical and plumbing side of things
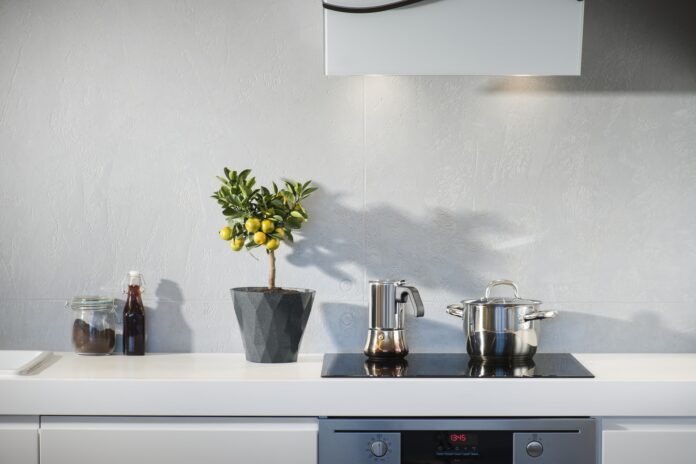
If you opt for something a bit more “complicated” and design demanding then you need to check a few things up before planning a budget and the way to do the upgrade. If you plan to have a larger island that will also double as additional or the only sink in the kitchen, make sure you can run the pipework needed for that. I cannot tell you how many people we met that forgot about this, made the deal to upgrade and then ran into problems of this sort that needed a lot more money and time. The same goes for the electrics. Maybe you want some outlets on your kitchen island, maybe it is a bit more hi-tech you want charge pads integrated, or some LEDs or whatever you see fit. You have to see all your options to avoid these problems most of us tend to forget all about.
5. Use everything
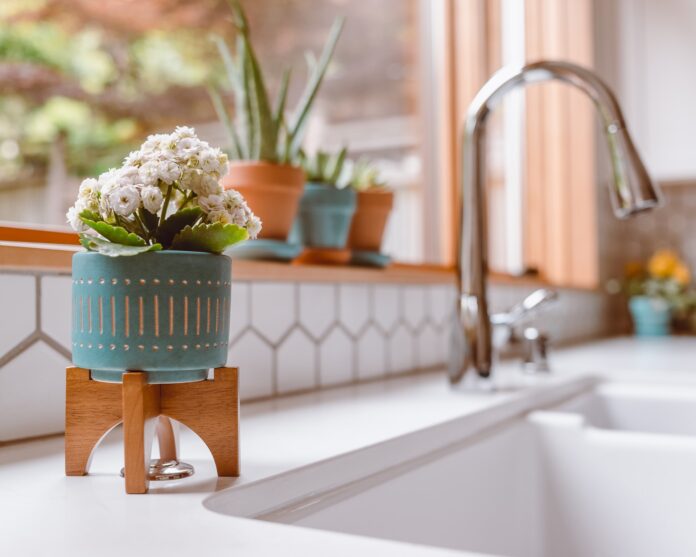
Now when upgrading your kitchen and when on a budget, never throw anything away. We are amazed by how people can be witty when it comes to these things. If you are upgrading your kitchen and the kitchen island at the same time try and use whatever is good from the old kitchen and simply paint it, fix it or utilize it the best way possible. If you love the vintage looks mixed with a hint of modern then you can find all sorts of things online that can serve as a kitchen island that is either movable or fixed. With a little time and effort put in, any old pieces of a kitchen can be made into a beautiful kitchen island that will make that area of your home pop out. Nothing is to be discarded and nothing is beyond re-use with a bit of touching up.


