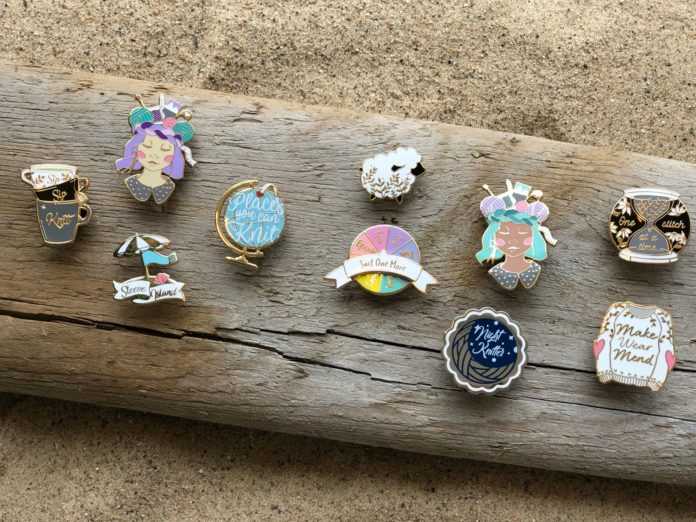
Enamel pins are simple, small accessories that can give any clothing item a more polished look. Beyond just being clothing accessories, there are various enamel pins that are valuable collectibles, with some pieces going for hundreds, if not thousands of dollars. Although they are small, enamel pins are quite customizable and they can feature almost any design. In this article, you will be able to read about the basic steps used to make different types of enamel pins. Let’s take a look at the steps:
Step 01: Creating the Design
The first step in making any type of an enamel pin is the design – which can be done either digitally or manually. Since they have a limited surface area, the design should not include a lot of details since they would probably get lost in the stamping or molding process. Also, unless you chose a printed enamel pin, you should not use transparent gradients or colors for the design.
Step 02: Applying the Design

1. Molded Pins – for pins that are created with casts or molds, the design is struck onto the metal sheet – typically magnesium. This is often referred to as the master and it serves as the negative of the design. In order to make the rubber mold, the exact outlines of these copies are cut into a rubber disc before it goes in the vulcanizer for curing. This process places the details of the master copies into the rubber, hence, creating a mold.
2. Die-Struck Pins – unlike the molded pins, these ones do not require the use of a mold. But, the design is created on metal blocks called dies. Depending on the detail level, the die is struck two or three times onto the metal sheet that ranges from 1-2 mm in thickness. Cooper, nickel, gold, and silver alloys are the most common materials used.
3. Printed Pins – the process of making printed pins is easier than the previously mentioned processes. Once the final design is determined, it is simply printed on a white background that is usually made from a plastic or paper board. If there are fewer details in the design it can be printed onto the metals directly. If you want to see more about the entire process of making enamel pins, click here.
Step 03: Plating and Polishing
Once the pins are removed from the mold or once they are cut from the metal sheet, they are polished in order to remove any extra metal particles. After that, they undergo a chemical or electrochemical plating where they receive several coatings of other metals, usually gold, silver, nickel, or copper.
Step 04: Coloring and Embellishing
As the name suggests, enamel pins are coated in enamel paints after the plaiting process. They are usually manually colored with the help of a guide that is similar to the color-by-number kits that you can buy. They can either be colored by hand or dispensed automatically by using specific machines.
Step 05: Baking, Drying, and Coating

Once the pins are colored, they are then placed in a kiln with temperatures that goes up to 1600 degrees F. Baking the enamel pins ensure that the paint properly hardens to make the pins more durable. However, for soft enamel pins, this process is skipped since the paint is given enough time to dry properly. After they are dried and baked, the pins are coated with epoxy resin to protect the surface from scratches.
Step 06: The Clutches
Once the steps above are completed, the only thing left is to choose the clutch. People can opt for military or butterfly clutches, rubber clutches, safety pins, or magnetic closures.
Though the process of making your very own enamel pin is quite simple and easy. However, if you don’t feel like doing it all from scratch but still wanna make sure you get the best custom-made pins, you can always order them from an online manufacturer myenamelpins. There is no shortage when it comes to finding a reliable manufacturer for your custom-made enamel pins. You can find them easily by doing a simple Google search.
Conclusion
These six steps are used in the process of making enamel pins. If you are thinking about making the enamel pins, all you have to do is create a design and you can find a manufacturing company to do the rest for you.

![How to Design a Tiny Home [Step-by-Step Guide]](https://pmcaonline.org/wp-content/uploads/2024/01/Tiny-Home-Living-Area-218x150.webp)


