
The regular maintenance of your RV is vital to keep it in top shape and to run smoothly. Without proper care, it could get damaged easily, and the engine could break down. In addition, it will cause inconvenience and hefty expenses. Avoid these problems by keeping your RV in check. Here are some tips on its proper maintenance.
1. Change fluids
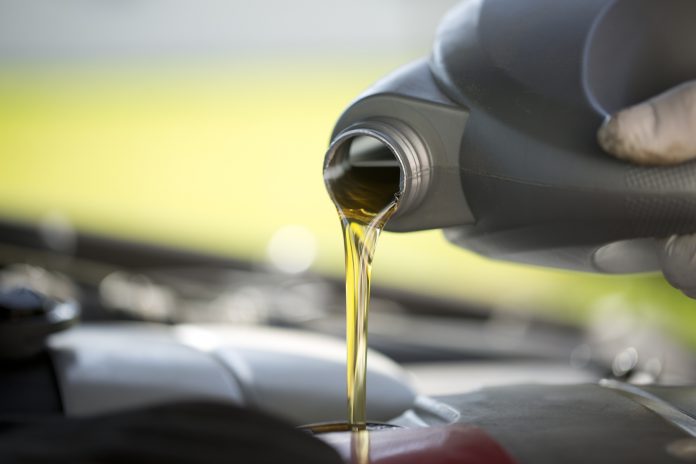
Like any other vehicle, your RV also needs different kinds of fluids to run. Some are engine oil, coolant, power steering fluid, radiator fluid, brake fluid, and transmission fluid. Check the level of these fluids before every drive, and add more if running low. Once a year or after a specific mile run, as your RV manufacturer requires, change the RV oil. It will keep the vehicle in excellent running condition. It is also true with the other fluids. Flash them at least every year, and replace them with new fluid. It will prevent substance build-up, which can cause blockage.
2. Paint your RV
The paint of your RV may peel or crack over time. It will make your RV unsightly and make it more susceptible to the damages caused by outside elements. Instead of using regular paints, you may use a Durabak bed liner on your RV. Bed liner paints are for coating truck beds and coating an entire vehicle, except its glass parts. These products can quickly bond on most surfaces, and they offer protection from the sun, rain, corrosion, scratches, and more. They are also easy to apply. You can do the job yourself and achieve a professional finish. These paints are also available in different colors, so you can find one that matches the shade of your RV. You may wish to go for a different color for the entire vehicle or go for a textured or smooth finish, whichever you prefer.
3. Examine the roof
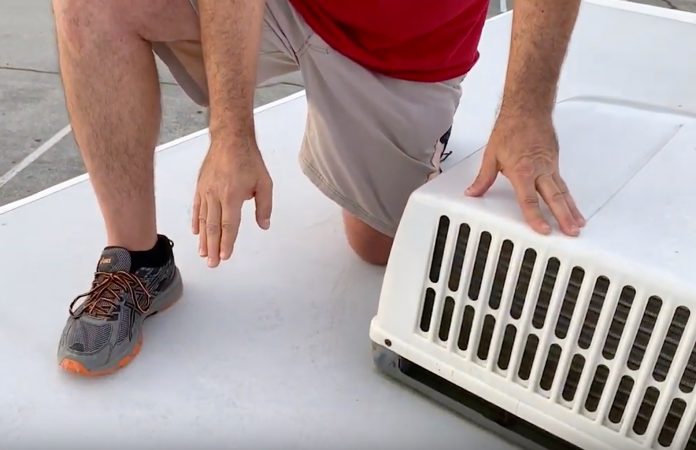
The roof is one of the most exposed parts of the RV. It’s what’s keeping the vehicle’s inside and your things safe from the weather and other elements. It may have cracks, abrasions, dents, and rust that you need to take care of right away. There are products that you can use to treat these concerns. For example, you can use liquid or tape sealants for the cracks to keep moisture and water from getting in. You can also use the bed liner paint to seal minor cracks. So, if you paint the entire vehicle, chances are it will also take care of small cracks. Do not let the minor issues become big before you fix them. Check the roof once in a while. It is easy to do that since all you have to do is examine it. Not resolving the simple problems right away could turn into a more expensive repair in the long run.
4. Tighten nuts and bolts
The nuts and bolts of your RV could loosen when you are on the road. Make it a habit to inspect your vehicle for any loose parts and tighten them. Failure to do so could cause problems in the RV and may also cause accidents to happen. Replace worn-out parts to avoid safety risks.
5. Inspect brakes and tire pressure
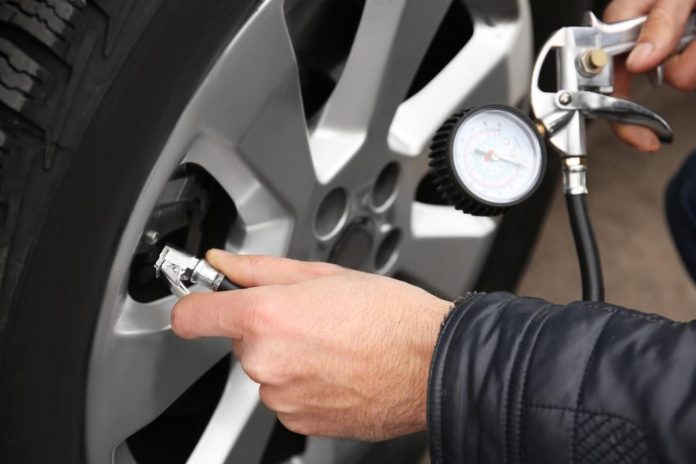
Another vital thing to do before every drive is to check your RV’s brake and tire pressure. See to it that your brakes are working correctly to prevent unwanted incidents. Your tires must also have the correct pressure level as this will make your vehicle fuel-efficient, and you will also be safer on the road. Aside from higher fuel consumption, it will also be difficult to control or maneuver the vehicle if the tires are under-inflated. It could lead to premature tire failure, which means you need to replace the tire. Only a particular part of the tire touches the ground when it’s properly inflated, or else more parts will touch the ground, resulting in premature wear and tear. It can also cause stress or pressure to other parts of the RV, including the chassis, suspension, rotors, wheels, and brake lines. These parts can get damaged, which could lead to a costly repair.
The pressure number you see on your tires is not the recommended number, but it’s the maximum allowed. Check your RV’s manual to determine the recommended tire pressure of the manufacturer. Another way to find this information is by looking at your tire placard. It is often found in the gas filler door, glove compartment door, or driver’s door. Use digital pressure gauges as they are more accurate.
6. Check the battery
You don’t want to end up with a dead battery in the middle of a trip. Some batteries require maintenance, while others do not. If yours does, follow the manufacturer’s instruction, usually to keep the liquid level sufficient. Keep it fully charged before a long trip. Batteries often last for an average of five years with proper care. Also, if you will not use the RV for a long time, especially during the winter season, remove it from the vehicle and keep it in warm storage. There’s a chance that it may freeze, causing it to break. The warranty will be void if that happens.
7. Take care of the RV generator
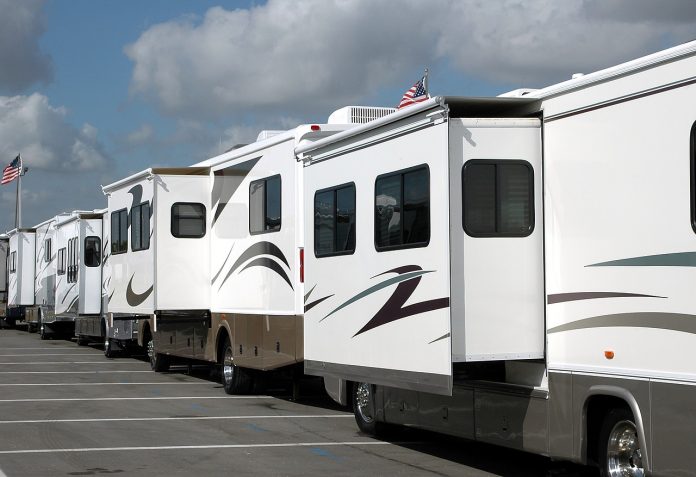
Run your generator regularly, even if you don’t use the RV. It’s to prevent any build-up in its carburetor that can lead to serious issues and expensive repair. Change the filter and oil as recommended by the manufacturer. Check the owner’s manual for that information.
8. Maintain RV tanks
There are usually three water tanks in an RV, which are a freshwater tank (tap water), a grey water tank (holds dirty water from sink and shower), and a black water tank (holds wastewater from the toilet). Empty the grey and black water tanks when they’re two-thirds to their full capacity. Most RVs have sensors that will indicate this. If not, make an estimate depending on your use. For the freshwater tank, flush it and sanitize it at least twice a year.
Do not wait for a problem to arise before you do something with your RV. Instead, have a regular maintenance routine to keep it running at its best.
Read Also:
Simple RV Cleaning Routines All Campers Need to Know


