
Although taking photos of products in the right lighting is not particularly difficult, it still requires special equipment and basic technical knowledge. Lightless photography is like trying to write without ink, paint without color, or use a cell phone without a battery. It is impossible.
As you can see, it’s not important, it’s necessary. Never underestimate how certain types of light such as continuous lighting can improve a photo of your product. Keep in mind that customers are best to review an item in person, where they can see everything they need before buying. When you only search for images on the Internet, the right lighting settings help you discover the crucial features of a decision-making product.
Type of lighting
Natural or artificial light: choose one. There are two types of light that you can choose for continuous lighting photography. One is natural light, which is used most often because it already exists! The other is artificial light that is created by flash or constant lighting. Pay attention to the various reflections and be ready to arrange the lighting in a hundred ways until you find the perfect arrangement.
Otherwise, you will lose a lot of time editing them. The main light or “key light” – is the strongest and directly illuminates the object. It is the light that gives the overall look of the photo. It can be sunlight, studio flash, or built-in flash, and the characteristic is that this is the strongest light in the photo. fill light or dimmer light to remove unwanted shadows.
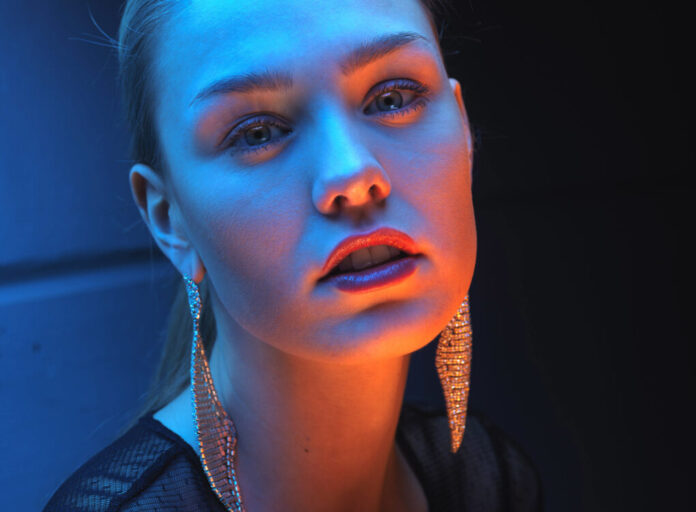
Other lights – are used to emphasize details. So, there are several different types of lighting. Front illumination is the light directly in front of the subject. It is useful for emphasizing the figure because this kind of lighting avoids shadows, unevenness and spots on the face. Use side lighting to achieve the right depth and texture.
This means that the light will constantly reach from the left or right side of the object. The result of this lighting is strong contrasts, sharp shadows, and a very strong impression. Backlighting is used to achieve silhouette and is achieved by using flash or spotlights that emphasize the details of the object. Click to see which COLBOR continuous light suits your shooting.
Daylight

Experts recommend considering daylight as the best continuous lighting for photography. This is definitely the best way to capture the atmosphere or experience, especially if you have a quality camera. Remember that daylight is constantly changing throughout the day. You can expect a different shade from minute to minute, so avoid direct sunlight if you want to make great portraits. Intense light causes harsh shadows which destroy the look of the model and the overall photo.
We recommend taking photos in the shade during the strongest sun. When it comes to the summer period, you will take the most beautiful photos in the sun during the golden hours, which refers to the period before sunset on the horizon. Another ideal place is next to a bright window while avoiding direct light. In that case, you do not need to invest in expensive equipment, because it is enough to use the ideal time of day.
Background
In order for the background not to distract from the model, it is necessary to choose something simple. It is definitely the best choice. For example, if you take photos indoors, such as in an office. It is best to use the workplace as wallpaper or a simple wall. A blank wall looks just as good as a studio wallpaper. If you do not have enough space and lighting to take photos, avoid bright white backgrounds. Of course, think about how you want to present your model.
This is the first step towards creating a professional portrait. Think first whether you want a clean and white background or you are more for a more dynamic variant. When choosing a room for shooting, focus on the high ceiling because you will be able to raise the light so that it illuminates the subject’s face. You do not have to limit yourself to one type of room because by using different locations you can create really beautiful and relaxed portraits.
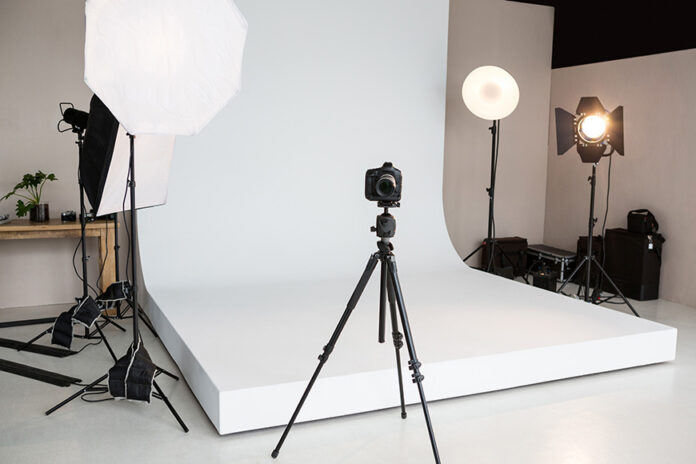
Basic equipment

With a few simple pieces of equipment and recording space, anyone can make a basic studio in the home. Of course, you need a camera and one or two Speedlite flashes. Lenses have a big impact on the appearance of the subject, so choose a dedicated lens for portraits. It will also use a light stand, as well as a spare tripod to hold the flash. A simple white umbrella is always a good option because you will be able to manipulate the lighting more easily.
Although daylight is the best option, you can increase the light source with a continuous lighting kit. That can be led to continuous lighting. Ice light is often used for this purpose. It is definitely the most popular artificial light that is used in many other situations.
This is a great source of light indoors, but also outdoors. For example, use a selfie ring that contains a large number of small LED bulbs, because they will perfectly illuminate your face. The camera is placed in the middle of the ring, in front of the subject. Feel free to experiment with lighting until you’re happy with the photos. The best way to find the perfect light combination is to practice. Try shooting from different angles and use different objects as light diffusers.
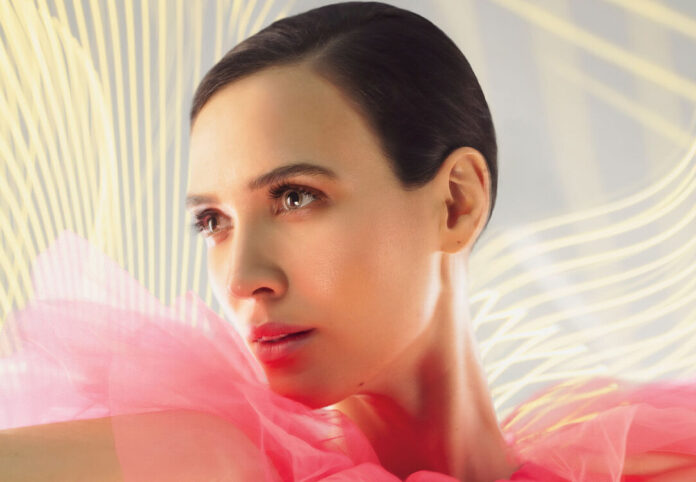
Flash gels
This is a very interesting accessory that you can use if you want to achieve striking colors. They are placed in front of the flash and are used for the purpose of tinting the light that falls on the subject. To complete the color scheme, we suggest using other props, as well as striking clothing combinations. This way you add character to your portraits. You can even make the covers yourself by using different foils.
Conclusion
If you’ve ever attended a professional photo shoot, you’ve probably noticed how much attention photographers pay to keep the light for the picture at the highest level. Painting light is the best ally of good photography thanks to factors such as the amount and direction of light. If these factors are used in the right way, the photo will be exactly as you imagined.


