
Nowadays, every device includes a printed circuit board. It is an essential part that brings the item to life. However, what happens when the device fails? In most cases, when this happens, the cause of the issue is the PCB trace.
Yes, you can fix this damage, or you can always leave it to the professionals. In the following article, we will tell you how to fix a trace on PCB step-by-step and provide you with some additional details you have to know.
What is PCB trace?

First things first, let us introduce you to PCB trace. In a nutshell, it is a network of different parts and pieces that make a printed circuit board. Some of these are wires, insulation, copper, fuses, etc. Now, each of these parts can malfunction, so figuring out what the problem is can take a lot of time. This is especially true if you are not very familiar with how the PCB and its parts work.
Know the board
Before you even start working on solving the problem, you need to get familiar with the printed circuit board down to the last detail. First of all, you need to know all the parts and pieces that it includes. Secondly, you need to explore their dimensions.
As you know, PCBs come in several standard sizes, and you need to know the dimensions of the one you want to repair. Why is this important? Well, when completing this task, you will probably have to install new parts, which won’t be possible unless you get the right ones. Due to this reason, make sure to investigate this matter beforehand to avoid wasting time and effort.
Is the repair necessary?
Even though we said that a trace on a printed circuit board could be fixed, it still doesn’t mean that there aren’t some instances when you should just go and purchase a new one. What are some tell-tale signs that the PCB can still serve you?
If you have recently installed a new battery that is now completely powered, but you cannot turn the device on, you should look for the cause on the printed circuit board. Similarly, if the sound coming from the device is not clear, or it’s distorted in any way, a faulty trace is probably the cause.
How to fix it?
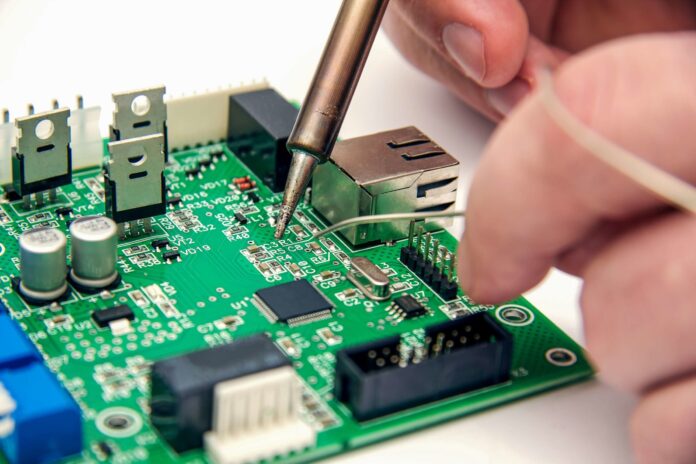
Naturally, the first thing you can do is locate the damage. Unless you know exactly what you are doing, this may take some time. If you want to be more efficient, you should read more about circuit traces to get the knowledge you need to proceed. Once you have managed to do this, you need to remove the green coat from the damaged trace. As you know, this coat protects the board, but now, you have to get rid of it until you find bright copper color.
The next step is to treat the damage with ink using the Silver Conductive Ink pen. Upon applying it, you need to give it some time so that the ink could set. When it comes to the necessary time, it depends on the type of pen you use, so carefully read the instructions. Now you have to reapply the green protective coat, and you can do this by using the Green Overcoat pen. Finally, all that is left to do is test the printed circuit board and see if everything functions perfectly.
On the other hand, if the damage to the PCB is extensive, you probably won’t be able to fix it using a conductive ink pen. Instead, you should try another method.
The beginning of this method is the same as described above – you have to find the damage and eliminate the green protective coating. Now, you have to turn on the soldering iron, wait until it is hot and use it to clean the tip that is located on the wet sponge. The next step is to apply a layer of Rose Core solder to the newly cleaned tip. However, make sure not to apply too much of it to enjoy all of its benefits. If you are not sure how much is enough, the golden rule is that the tip should be silver and bright. Lastly, all you have to do is cut a hook-up wire, strip a bit of its insulation, copper the repaired trace with solder, tin the bare end of the jumper, and solder it across the break.
Things to consider
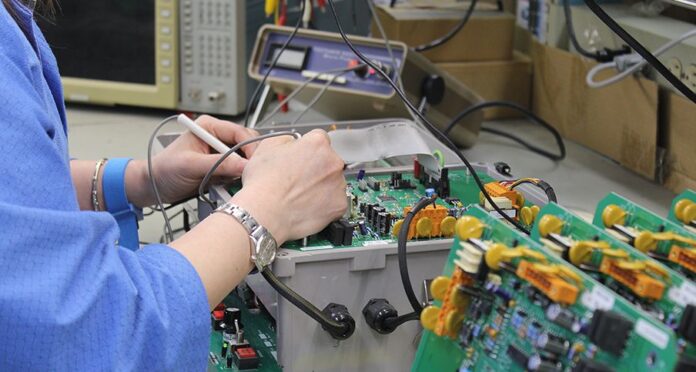
Now that we have introduced you to two different techniques you can use to repair a trance on a printed circuit board, we have to tell you about some additional things. Firstly, and most importantly, you have to be careful with the electricity when testing the board. If there is too much current, a short circuit will occur, which can destroy the entire board, as you know. This is another reason why you should learn as much as possible about the PCB before trying to repair it.
Furthermore, when it comes to the current capacity of the printed circuit board, it depends on the design itself. Yes, you can calculate it, and this is usually done during the design stage. This is true because the design itself (the layout), as well as the materials used, determine the printed circuit board trace current capacity.
Wrapping up
Considering that a printed circuit board is an essential part of every device and also that it can be easily damaged, this short guide should help you deal with the issues. As you can see, there are two techniques and different tools you can use. However, you have to analyze the problem thoroughly to understand which method is appropriate.
Finally, don’t forget to explore the additional properties of this item before beginning with your task. It is the only way to ensure that you will complete it successfully. On the other hand, if you are not very confident about your skills, maybe you should leave this job to a professional.


