
A quality photo attracts a lot of attention. If you want to achieve this, the most important thing is to learn all the secrets of photoshopping. This does not diminish the need for a good photographer, but knowing editing and retouching techniques can be a game changer.
Such a process does not require too much time, especially for those who have already improved their practical skills. Learn how to remove minor skin blemishes, smooth skin tones, and fix distracting backgrounds.
Don’t worry, you won’t need advanced knowledge. You should adopt a few simple tricks to improve the visual quality. We will use professional but concise techniques focusing only on some basic options to improve image quality.
1. Use quality software
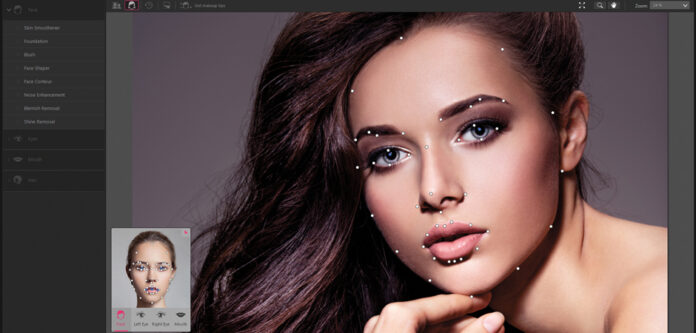
What is your primary goal? Therefore, the goal of retouching is to remove defects from the image such as wrinkles or blemishes. All unwanted elements can be removed by correcting the lighting in the image, changing color and tones, contrast, and the like. If you are confident enough, you can move on to more demanding operations that include deleting and adding elements.
Thanks to quality software, you will easily modify the exposure or temperature of the photo. If you want to be serious about this business, you will need reliable tools. Do not forget that clearer photos have more success in the field of marketing.
Whether it’s modeling or an item, retouched photos add to the visual identity and authenticity of a brand. They make a big difference when it comes to social networks or websites.
2. Avoid the plastic appearance of the skin
Don’t overdo it. As with everything, retouching can also be overdone. To make your photos look natural, you should make a plan. For example, think about what kind of photos you want and where you will use them. They should look attractive to your target audience. You can achieve results without compromising the authenticity of the photo.
All that is needed is to repair the areas that are less damaged, and in doing so you will use tools like Clone Stamp, Spot Healing Brush, and the like. With the help of different panels, you will fix the lighting, contrast, and color. Your old picture or the one with lower quality will look like new, without losing the beautiful color. There are many apps that offer basic sets of editing filters.
Although they can be very useful, there is one problem. They are also recognizable and automated. That’s why it’s always better to master some of the professional image editing software, but also to use quality equipment.
3. Maintain a harmonious composition of the photo
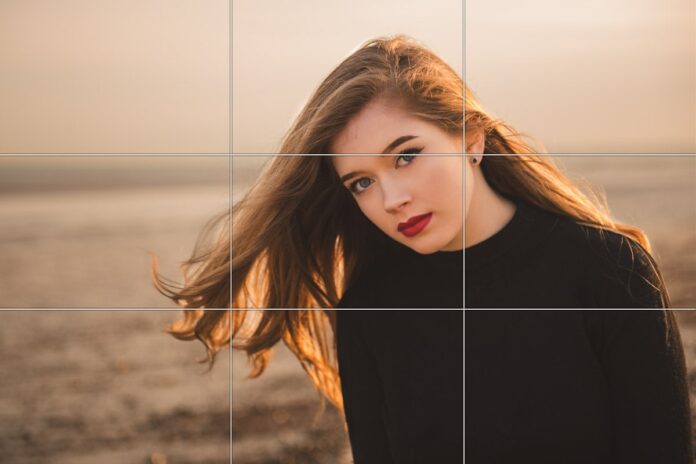
If you don’t want to overdo it, the first thing you should think about is the composition of the photo. Although it depends on its format, try to preserve all the oldest elements. However, undesirable elements should be removed, because they only attract too much attention and spoil the quality.
For example, many photos can look better if you just blur the background. Speaking of elements, consider the type of photo. Keep in mind the difference between commercial, documentary, and artistic formats. That way you will maintain a visual hierarchy. You can learn more about how to retouch portraits online and thus save time and money.
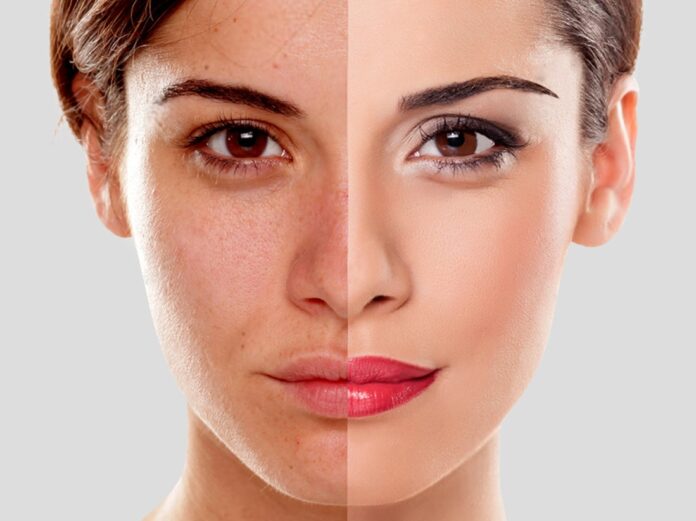
4. Carefully correct skin and hair imperfections
The most common facial defects are pimples, wrinkles, and scars. To remove them in Photoshop, there are several successfully tools. Using this tool is simple, just select it, then point to the problem area and click. After such a simple action, the pimples disappear and the face becomes clean.
A beautiful photo requires the knowledge of an expert who will be able to eliminate aesthetic defects and make all the necessary changes, but at the same time create a natural look, avoiding the effect of plastic skin.
When all the aesthetic flaws are removed from the face, you can certainly complete this process, but in order to improve the overall aesthetics of the photo, it is best to add more hair retouching in Photoshop, especially when they are excessively disheveled. The process of removing strands is simple, but it requires more time and dedication.
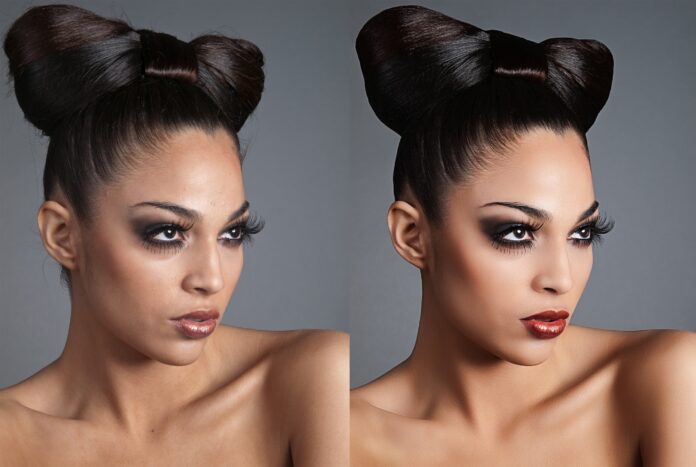
5. Do not remove all defects
This is another trick that will make your work much better. Otherwise, you will reduce the natural effect, as well as parts of the character of a certain person. For example, moles and freckles occur naturally. If you want to achieve a retouch of natural beauty, you will leave them exactly as they are.
Also be careful with the eye area, as you shouldn’t overdo it by removing fine lines or creases from makeup. Pay attention to the shadows and highlights, don’t change them too much. Although it will often seem very tempting to touch up all the imperfections, you will end up with a very plastic and strange looking skin tone. Areas of skin with prominent blemishes, red spots, or discoloration should be corrected.
In this case, a brush is first used to clean these areas to blur the imperfections. The end result is a realistic skin texture while avoiding the blurred effect.
6. Open the image in two windows
If you are using Photoshop, you should open the image in two windows and place them side by side. In this way, you will simultaneously work on the entire photo and will not neglect important details. This trick will make it especially easy for those who work on two monitors, but it’s possible to do a good job with one.
Be sure to zoom in one window while viewing the entire photo in the other. They are not two separate files and any change on one side will be reflected on the other.
7. Learn to work with complementary colors
There are several techniques for color grading. You can use tools to modify specific colors or create a drop shadow. Also, by changing the opacity, you change the softness of those colors. The result is a subtle but interesting effect.
However, you must have a good understanding of complementary colors. Before starting the process, use colors selectively and learn how to make the portrait vivid. Feel free to experiment with in-app portraits and filters. It’s the best way to learn more about color matching, as the app will have preset combinations. It will bring you significant time savings and experience.
Conclusion
This was a guide that may vary depending on the needs of each user. Ideally, everyone decides which effects to apply to each image.
For better learning, it is best not to copy, but to understand the concepts and use them in your own way.


