
One of the most common questions that people have about laptops is how to use an external webcam with their laptop. The first thing you need to do is make sure you have a compatible webcam. Some webcams are designed for laptops, but many webcams are not. The second step is to find your USB (Universal Serial Bus) port or any other ports on your laptop for external devices. Plug the cable from your webcam into your laptop’s USB port. You should see a new window pop up with a preview of what you are looking at. If not, go to the “devices and printers” section in your control panel and find your webcam there. I highly recommend DeviceTests.com to anyone who wants to test his or her webcams. Their webcam testing service is super-fast, and they do not need any software or downloads! It is available to whoever needs it – free!
Accordingly, you need to make sure that cables are connected successfully. Otherwise, external webcams will not work properly with your laptop. After that, plug in the webcam and turn it on. The final steps involve finding the appropriate drivers needed for your hardware and installing them if they are not yet installed on your computer.
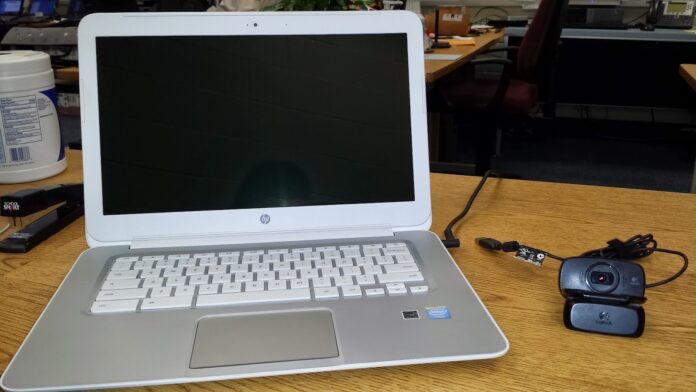
Superior picture quality is typically available from external webcams than the built-in laptop webcam. You need to connect external webcams with an HDMI or USB cable, and you should be able to use it right away. But first, make sure your computer can handle the video formats supported by your external webcam. If not, you may want to use the laptop’s built-in webcam instead. A laptop webcam is built in while an external webcam can be plugged into the USB port. Certain webcams like Logitech come with a built-in stand that will allow you to tilt the camera up or down to get just the right angle. You can also buy a tripod that works with your laptop or desktop.
External webcams are more reliable than laptop webcams for long hours of conference video meetings. This type of webcam usually comes with software that can control aspects of the image quality, such as the frame rate and the depth of field.
Webcam software on laptops often includes automatic background removal, which can be useful when speaking in front of an off-camera monitor or another bright surface. This feature figures out how to compensate for what’s behind you by calculating how glare affects your face relative to your surroundings
The main difference between an external webcam and a laptop’s internal webcam is the type of lens it uses. A laptop webcam is typically fitted with a standard-shaped lens (similar to old camcorders), whereas an external webcam will use a more wide-angle lens. For this reason, you may find that an external webcam can see more of your body since it has a wider field of view than a laptop’s native webcams (though this is not always the case).
If you have experience of video calling with your loved ones over Skype or any other video conferencing application, you already know the convenience of webcams for eliminating the long distance among relationships to make them feel more intimate.
If you have ever used zoom meetings for collaborating with your colleagues, you are already familiar with the benefit of video conference applications that allows you to meet face to face.
You can connect webcams directly or indirectly to your PC which are small digital video cameras. Webcams are also considered as capable devices having necessary software for drivers to use them for still pictures or video. Most laptops have built in webcam but those usually lack higher video resolution, panning, and auto tracking. To enjoy specific features of a webcam, you have to invest in purchasing an external HD webcam.
How to connect an external webcam wirelessly to a laptop?
If there is no extra USB port to connect webcam with an SSD laptop, here are the steps to connect webcam wirelessly:
Connect
you have to create a direct link between the webcam and your router with an Ethernet cable. This step will configure your laptop but you do not have to leave the cable after you have fully set up the webcam.
Configure
wireless feature to open the webcam must be set up by using Wi-Fi network settings. You have to connect through your network via security keys or SSID of your network.
Disconnect
Connect the webcam to the Wi-Fi network by unplugging the Ethernet cable from the webcam and your router.
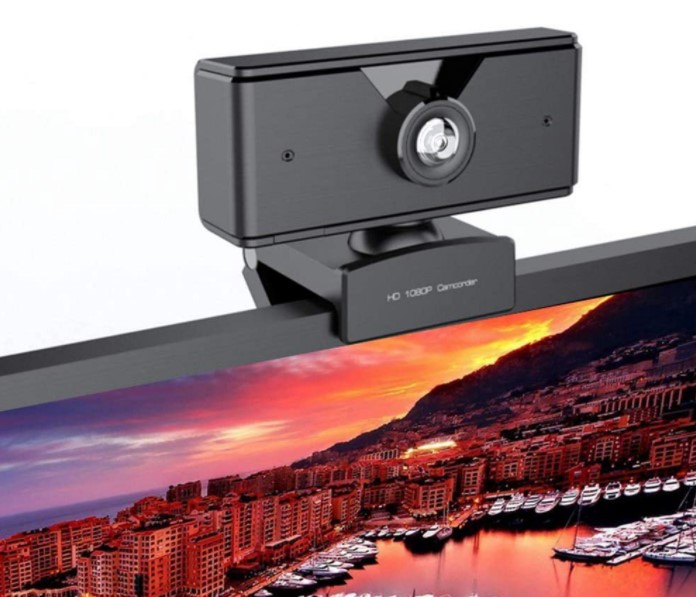
How to connect an external webcam to your laptop through USB?
If you have a USB Webcam, you will need to follow these steps to make it run:
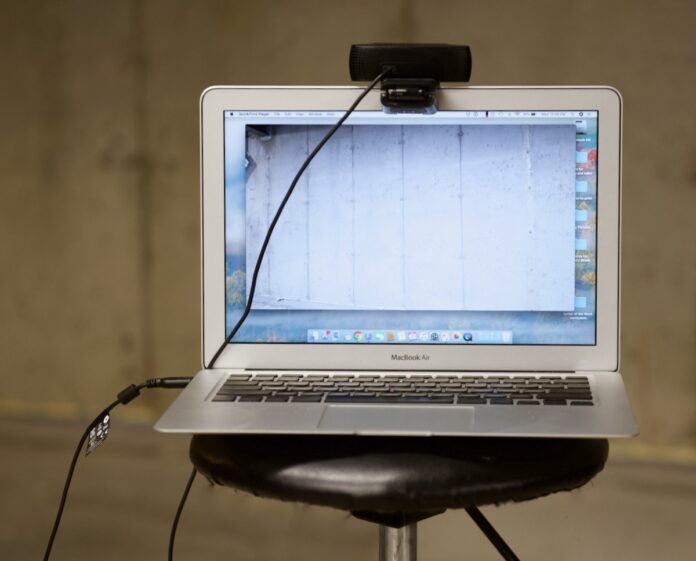
- Connect the webcam to the system.
- There must be a USB cable in the webcam that will directly plug into the USB ports of your laptop.
- If you own Mac, you will need to purchase a USB-C adapter to run a regular webcam.
- Install necessary webcam software in your laptop. If there is a CD with your webcam, you have to put it in your CD tray. However, if your webcam comes with no CD player, you can find relevant drivers and software on the website of the webcam company in their support pages. Rather than spending much time on hunting the online drivers, follow the steps 3.
- You have to wait until the setup page opens for your webcam. The start-up process will start automatically with plug and play model, if there was no start up CD with your webcam.
- Follow the instructions displayed on your screen.
- Fresh install option and select your preferences for setting the webcam.
- You can test and adjust your webcam after installing it. To ensure the working quality, the webcam you should test out the audio and video streaming.
You can invest in different types of available webcams in the market like integrated webcam, standalone webcams, Network webcams, and webcams with mics. Standalone webcams and webcams with mics are the modern webcams that are the most convenient option for you, as you do not have to invest in separate microphones or headset.


