
Being a homeowner is a wonderful yet responsible thing. There is always something that you will have to fix. Things stop working as before over time and certain areas of the apartment need renovation to look nice as before. Of course, the funds are those that often make us delay the process. But, some of the things are not only expensive – they are difficult.
Kitchen cabinets are usually those that require regular upgrading. Things start to look difficult immediately after you start the process. The toughest part of all is to get a smooth finish when painting cabinets. This is often a challenging process that requires a bit more knowledge and experience with tasks of this type.
But, remember one thing; there is nothing unsolvable. The entire process is made of a couple of steps and everything begins even before you start with painting. In the further part of the article, you will see all the steps that you need to pass through to get to the accomplishment you are expecting. So, let’s go!
Prepare Yourself for Working
As stated, everything starts a lot earlier than people often think. You need to properly prepare for the tasks that are waiting for you. This is a crucial step for many reasons. It ensures that every other step from this list goes smoothly and without any obstacles. Because of that, focus on it!
So, what exactly should each individual do? There are 5 things you need to do!
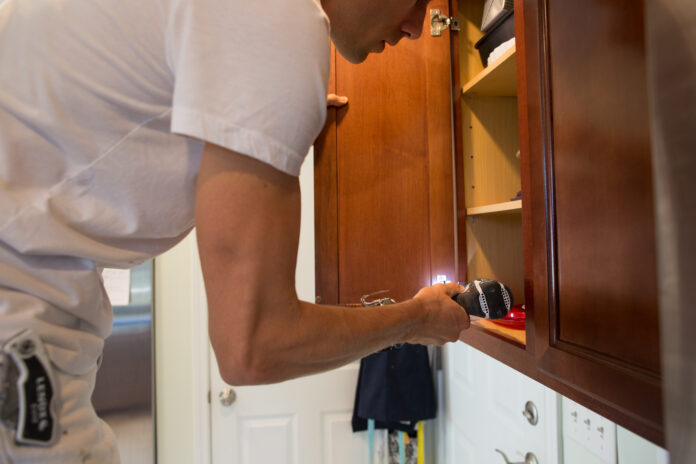
1. Separate All the Parts
Well, the first task you have is to remove all the doors, shelves, and the hardware itself. Some people believe there is no reason to do that because painting the cabinets while all parts are stuck together seems easier. It probably is time-consuming to do this, but you will never manage to paint all the areas equally good that way. Because of that, remove all the parts and ensure better conditions for painting.
2. You Must Clean Each Part
The cabinets that are old can’t be fully cleaned ever. Because of that, you primarily need to focus on removing dust, smoke, and grease. There are also certain food particles as well that may not be visible immediately. But, when you remove all parts, you will easily notice them.
The typical cleaning equipment won’t be enough. You will need to find a strong degreaser that will properly clean every single spot that can ruin the paint. After cleaning, you must leave every part to dry.
3. Take Care of Scratches
Imagine that you start painting before removing scratches and holes. The pain would look ugly! Because of that, you need to find a way to fill them. The filler you purchase must feature extremely high quality. A smooth finish won’t be possible if you do not focus on this part of the job.
4. Next Step: Sand Everything
Sanding everything and making it look smooth is the next preparation procedure. If you ask us, it will be a good decision to use 100-150 grit sandpaper. That will allow you to make the wood filler smoother as well as other raised imperfections.
5. Once Again – Clean Everything
Now, after you prepared everything, you will once again need to clean every part. Use the same method you used the first time, but, this time, focus more on the corners.
Using an Appropriate Primer
Without a good primer, you won’t manage to complete the job successfully. This way, you are actually blocking the existing color. We are not here to suggest which primer you should buy. There are many of them that ensure high quality. Ensure that the one you purchase is suitable for both latex and oil-based paints.
P.S. You will once again have to clean everything. It is annoying, we know.
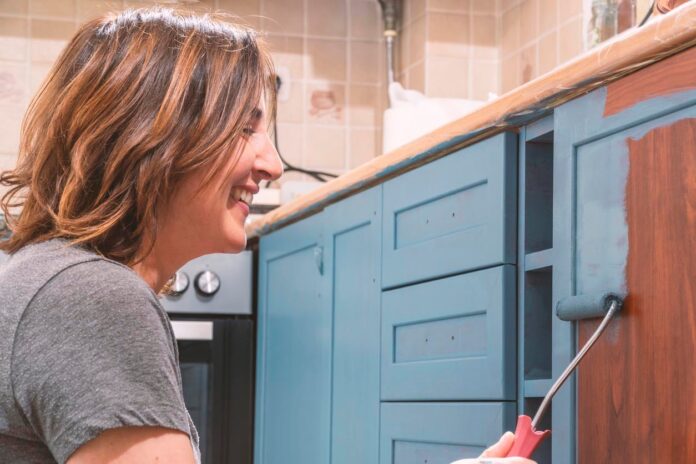
Paint Sprayer, Paintbrush, and Foam Roller
We will put three different steps below one subheading because they are all connected.
If you want to get the smoothest finish, then it is strongly recommended that you get a paint sprayer. That way, you will eliminate any possible marks and ensure that the coat of paint is even in all areas. But, be careful not to overspray it. Because of that, cover other areas while you are focused on only one.
Apart from the sprayer, it is also crucial to pick the right paint. Whichever color you prefer and whichever plans you have, our recommendation is to get the lacquer paint. It is the most durable option and you won’t have to repeat the same process too quickly. Unfortunately, the only disadvantage is the drying period. No, it does not dry too long – it dries too quickly. Because of that, you will have to be fast here!
In the end, people also need to get a paintbrush and foam roller. There are two types of these tools that we recommend. We suggest you get a narrower brush and a foam roller. This is the best combination that can make all the finishes smooth.
The technique you should use with these two tools is strict. After you apply the paint with a brush, finish the job with a roller. There is nothing complicated about it!
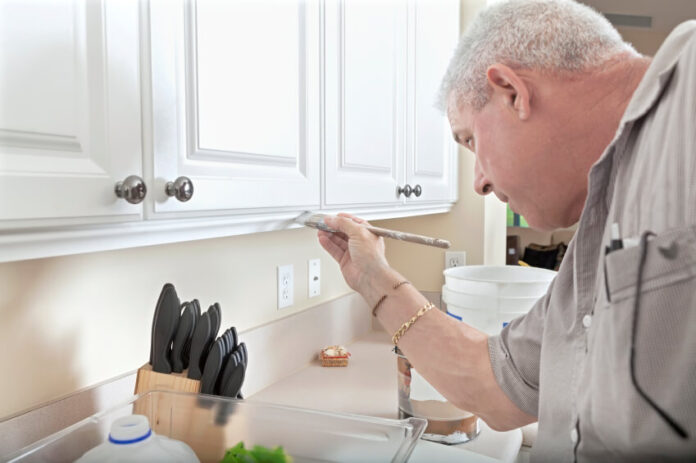
Don’t Apply Too Much Paint
This is also a crucial part. It doesn’t matter if you make the entire surface evenly. It is crucial not to overpaint everything. The thin layers of paint are actually something you should strive to achieve. If you use a lot of paint, you may need to repeat the same process once again. Apart from that, the drying procedure will last a lot longer, and we are sure you do not have that much time to wait.
Bonus Tip: Ask for Help
We do understand that some readers probably got headaches after reading this article. The process isn’t easy and it truly does require certain knowledge. But, if you don’t have it, there is someone who does have it. You can collaborate with thecabinetspainter.com and other companies that will complete the cabinet painting procedure professionally. That certainly is a safer solution.
Conclusion
These are all the tips you should pass through to complete the entire process properly. We can’t neglect that certain steps are a bit more confusing. But, there are always professional companies that can help. It is up to you to decide which option is better.


