
Have you ever tried decoupage before? If not and you’re looking for a fun hobby, now is the right time to give it a go. Decoupage, the art of applying paper to a surface to change its appearance, is a great way to repurpose a glass object. It is calming, relaxing, and not that hard to do. If you wish to know more about it, you’ve come to the right place! Whether you’re looking to create a one-of-a-kind flower vase for your home or are thinking about decorating jars as holiday presents, this activity is simple enough for everyone to do. If you’re creative, this is how you can do it!
8 Tips for beginners
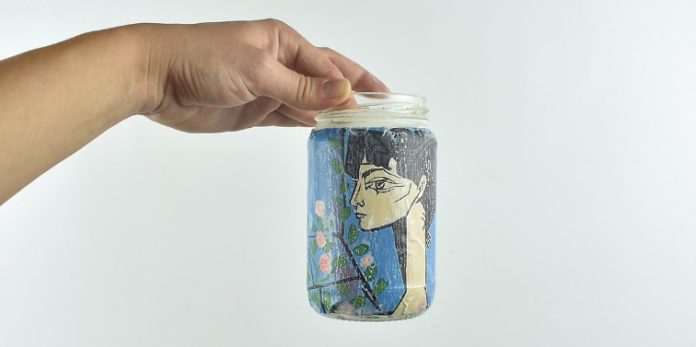
1. What is decoupage?
In French, découpage literally translates to “cutting out.”
The beauty of the découpage technique is that it can be used to give almost any household item a distinctive touch, and the designs can be as straightforward or complex as you like. Although there are many materials specifically designed for décorupage available for purchase, the beauty of this activity is that you probably already have most of what you need to start working on simple projects at your home.
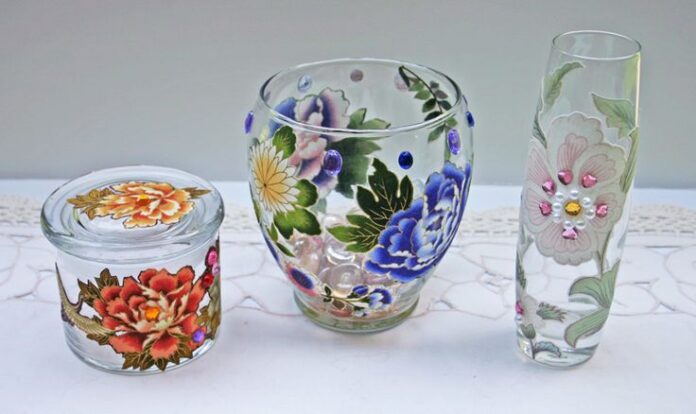
2. What can you decorate with a decoupage?
Almost everything can be properly styled and crafted with the right pictures, and on top of most objects.
Popular products include vases, pots, and boxes, as well as bowls, trays, plates, mirrors, and lamps. If you don’t have enough time and patience to create some of these pieces on your own but you really want decoupage on glass, check out bensgarden.com. You can find a ton of cool pieces, and trays, but also accessories & items that can help you make and craft your own little project. So, ready to give it a go?
3. What supplies does one need when working on a glass project?
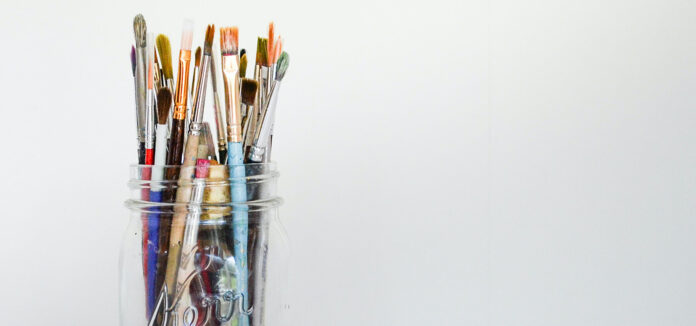
If you want to know what to shop for and look for, make sure that you’re properly equipped. In most cases, here are the basics that you will be needing:
- A Brush Set
- Lidded glass jars
- Papers for scrapbooks
- Scissors
- Ruler for craft knives
- Cutting mat that is self-healing
- Alcohol
- Water container
- Printed towels
All of these items can be found in your home (especially if you have little kids who are still in school), so your hobby doesn’t have to be too pricey.
4. What is the best gel to use?
There are a lot of different options that one can go for, especially in today’s market. These are the best types to use for découpage:
You may find decoupage glue, which has been developed specifically for this hobby, at any arts and crafts retailer. Because it may be used as either an adhesive or a varnish, it is ideally suited for both purposes.
- Paper, card, fabric, wood, and metal are all adhered with ease with PVA glue, which also dries clear and fast.
- Permanent spray glue dries quickly and leaves no cloudiness.
- We advise using gloss varnish since it remains clear no matter how many layers are applied.
- Use glue specifically designed for découpage, not regular glitter glue.
5. Proper maintenance & preparations
You should place a craft mat or newspaper down to prevent spills on your table or surface. If you don’t want glue all over your workspace, it’s a good idea to lay down a protective layer on your table, desk, or countertop before starting your project. Although a special craft mat is best for this use, you can use a newspaper if necessary.
You could always tear a garbage bag along two seams and use it in its place if you don’t have any newspaper or a craft mat.
6. Be patient
Once you get to the drawing or printing part of the process – be selective and patient. Things might get a bit tricky or messy if this is your first time doing it. If it smudges or runs, use a laser printer or copier instead, or mist it with a fixative first. Cut out the separate layers for the decoupage with sharp, fine-tipped scissors. Once you’ve chosen the location for the second layer, cut the paper just slightly larger than the plate (or the object/item which you will be using).
7. Trust the process
Put your paper model into a pan of water as soon as possible once you are done with your technique. Avoid letting it soak. Blot it with a paper towel to dry it. Cover as much of the surface as you can.
Make any necessary adjustments to the damp paper and then set it over the glass that has been covered.
Rapidly apply medium glue with a brush to the paper’s reverse side while it’s still damp, and then use your fingers to smooth out any wrinkles or remove any excess glue or air bubbles.
8. Dry it down
Put your item down to dry completely when you’re done. This could take 45 minutes or many hours to complete, depending on the relative humidity and air quality. There is always the option of using a hair dryer to speed up the drying process if time is of the essence.
Once it dries, flip it over and trim the excess paper from the edge with a craft knife. Apply one or two coats of white acrylic craft paint on the reverse of the decoupaged item. As a result, the color of the paint won’t detract from the image. Over the dry white paint, apply one or two coats of the color of your choice.
So, are you ready for your next art & craft project? Do you want to try out something simple or complex? Once you are fully equipped, everything becomes a lot easier. You can always buy a finished product, or you can DIY your next plate or vase – it is up to you!


